Turn any SteamVR-compatible VR headset into a tracked virtual camera for the Rockstar Editor.
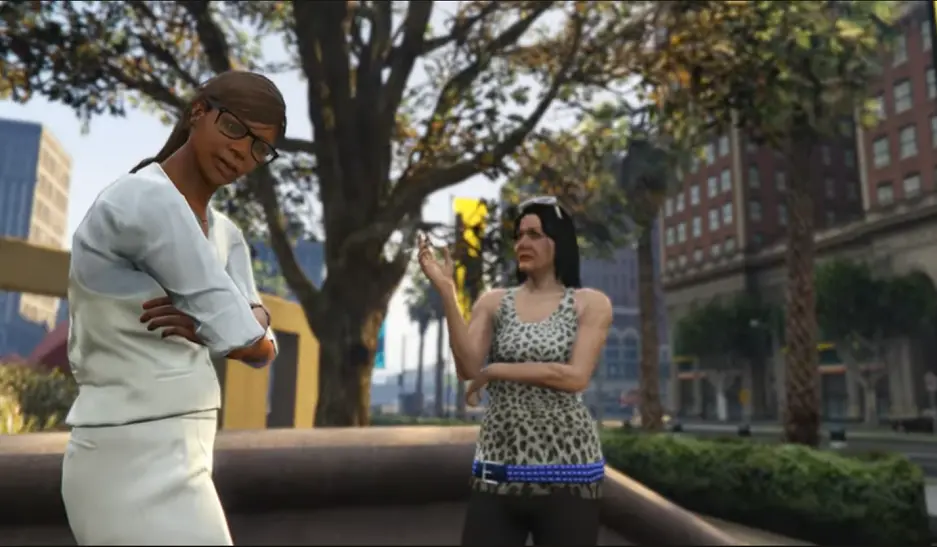
Create camera movements that feel like they came straight out of an official GTA V cutscene!
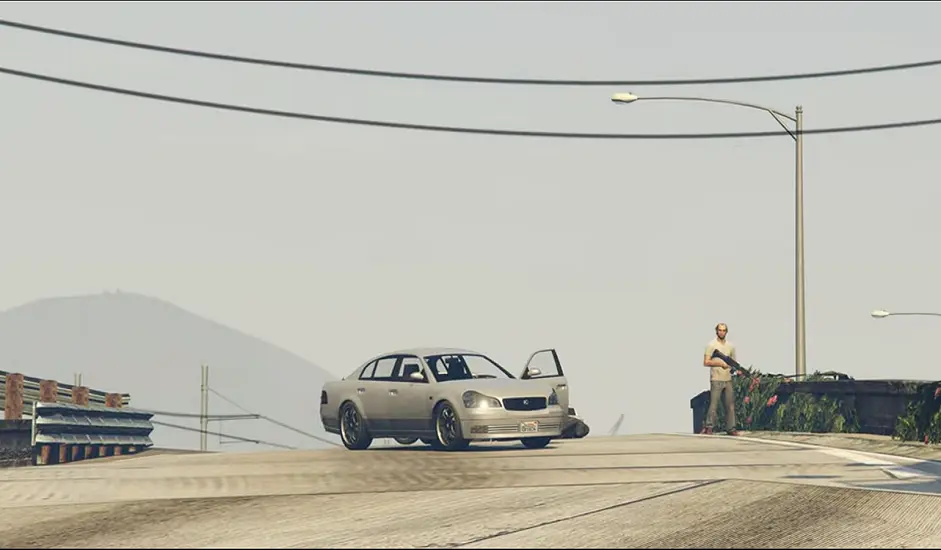
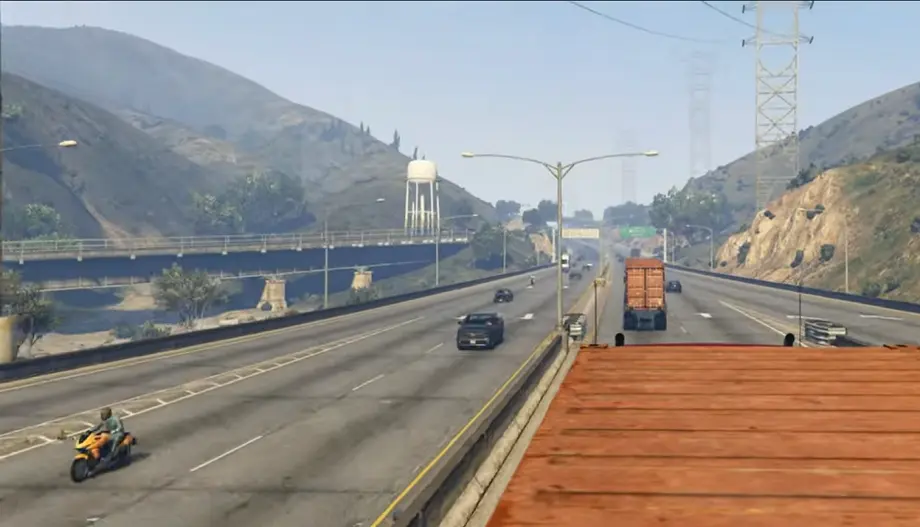
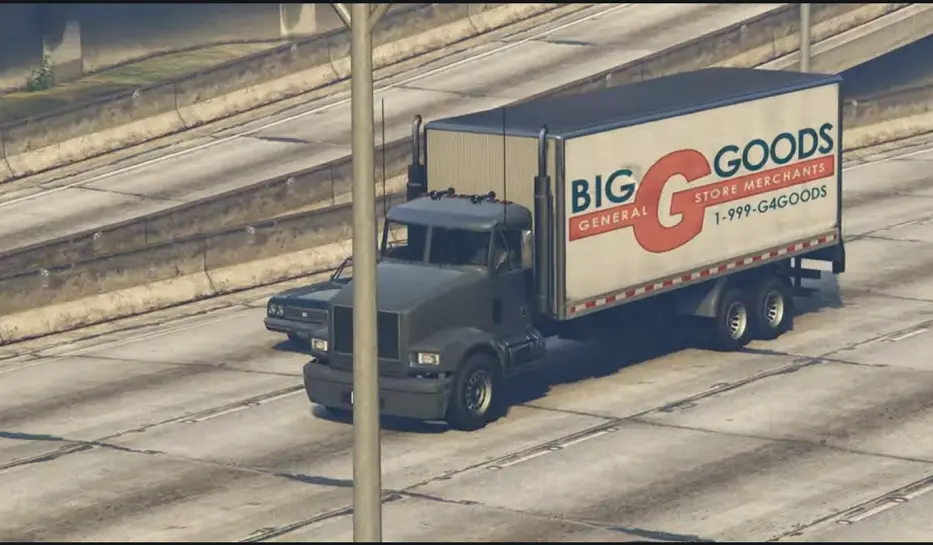
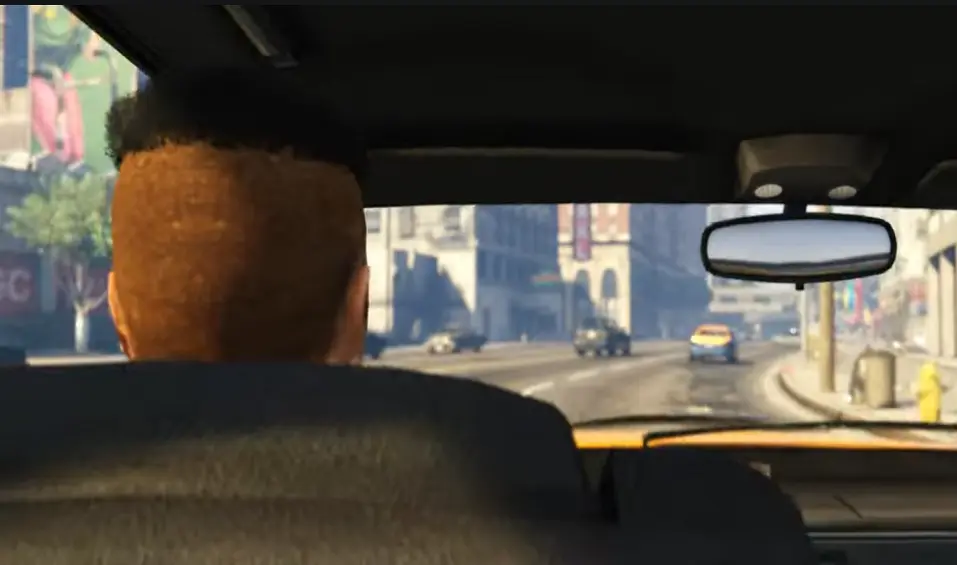
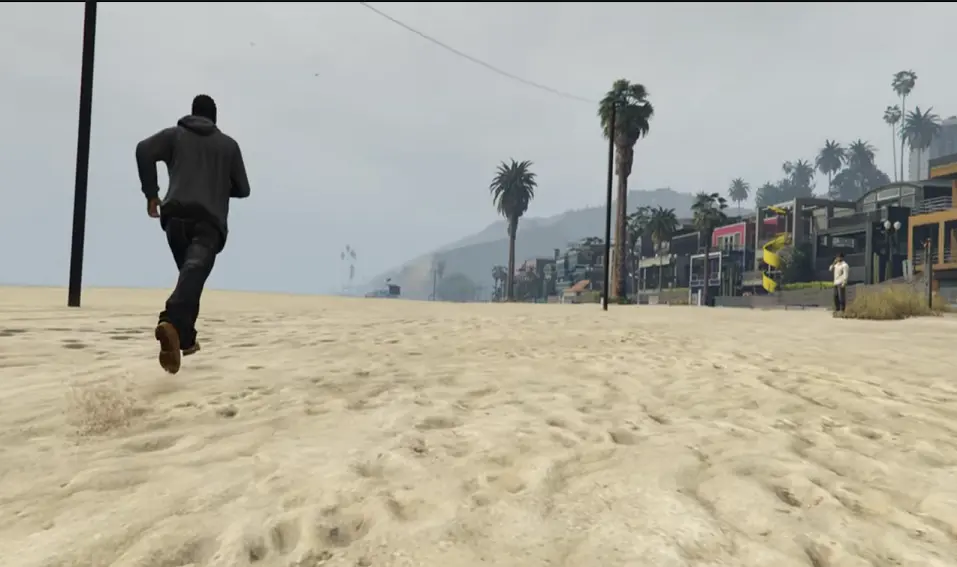
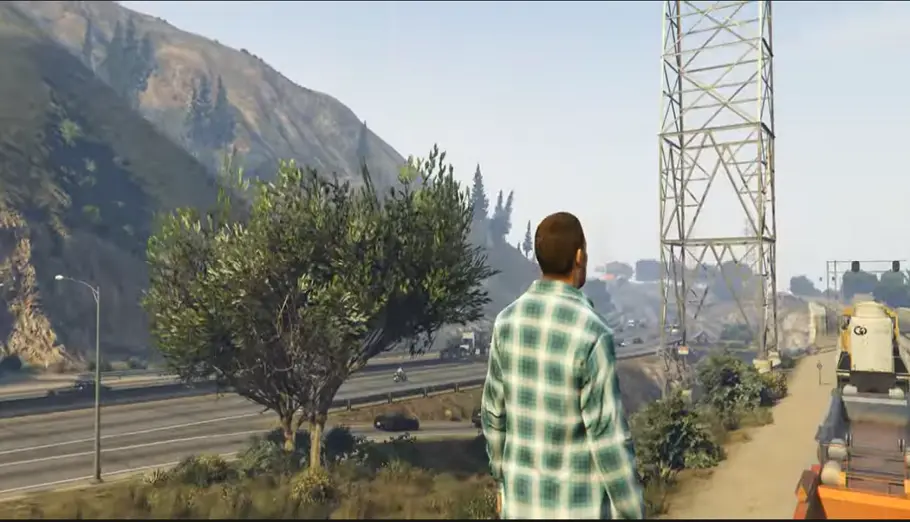
Enjoy more logical handheld motion, film handheld action atop a moving train, and capture close-up or intense interior car shots.
GTA: Vive
GTA: Vive is the mod that retrieves the position and rotation of your VR headset and translates that into the game.
When recording in Rockstar Editor, the footage can be played back using the in-game camera—even without this mod.
However, GTA: Vive does not offer adjustments aside from camera shake.
Because its field of view is very wide (i.e., very zoomed out), the export must be significantly cropped for a more appropriate framing.
This process may lead to wasted rendered areas and a loss in quality.
About This Mod
This mod provides an alternative camera type that you can use alongside the standard Game Camera type.
It works by spawning an invisible rat and attaching it to the game camera.
Then, in Rockstar Editor, select the rat as the Free Camera along with the look and move target (usually number 1 if no other nearby peds are present) and the Rigid mount.
As it acts as a free camera, you can still perform adjustments such as re-framing, zooming in and out, and using markers.
If you aren’t satisfied with your VR-tracked shot, you can always switch back to the traditional Rockstar Editor free camera on the same clip!
Smoothing
Another feature implemented with the rat camera is smoothing (also known as stabilization).
This reduces the shakiness of the VR headset’s movement to create a Steadicam-like effect.
The smoothing amount is adjustable in the configuration.
However, if set too low, the camera may lag behind like how the smooth blends lag behind, and if set too high, it may become jumpy or glitchy due to in-game physics.
It is recommended not to adjust the positional smoothing factor when in or on vehicles since the vehicle inertia compensation values are currently hard-coded.
The Viewfinder
The viewfinder adds a preview window that helps you achieve the ideal framing for your shot, complete with a bonus rule-of-thirds grid!
You can choose between 21:9 or 16:9 aspect ratios. Sometimes you might not want the default 1× zoom level.
The preview size can be adjusted to simulate zooming—though you will still need to modify the zoom level in the recorded clip within Rockstar Editor before exporting.
If you wish to export with a 21:9 ratio, you must first export the video at a 16:9 resolution and then crop the top and bottom using your video editor.
Alternatively, the Extended Video Export Voukoder crop filter can perform this cropping during export.
Roll Axis
The rat camera will not move on the roll axis, even if the mount type is set to Rigid.
This appears to be a limitation of the Rigid camera type. You can still manually add roll using markers if you desire an effect like the Dutch angle.
The Game Camera type, on the other hand, continues to move on the roll axis as usual.
Vehicles
If you are in or on a vehicle, an invisible bike will spawn.
The camera ped rides this invisible bike, which is attached to the original vehicle.
This “invisible bike workaround” is used because the GTA: Vive mod does not synchronize the position quickly enough when standing on a moving object unless directly attached.
If you wish to activate this mod while standing on top of an NPC or a street-spawned car, consider adding it to the Menyoo database to prevent it from despawning immediately.
Essential Mod
SteamVR and a SteamVR-compatible headset (e.g., I use a Meta Quest 3 via Virtual Desktop)
ScriptHookV
Community ScriptHookV .NET (nightly)
GTA: Vive
Extended Video Export (not required but highly recommended!)
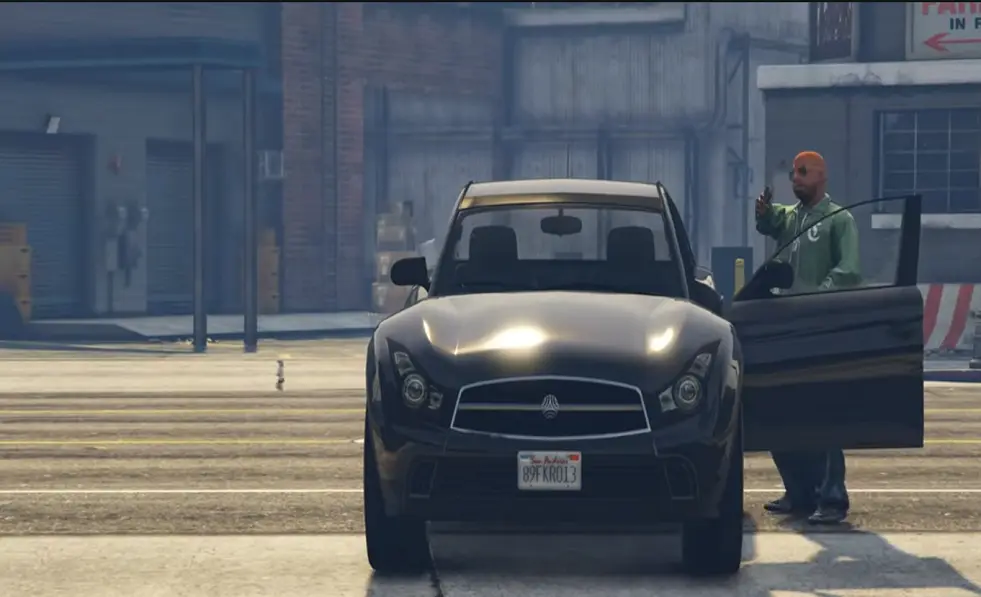
ScreenShot
Installation Guide
You do not need the Steam version of GTA V for SteamVR to work. SteamVR will launch automatically when you start the game.
Copy `VRcam.ini` into the Grand Theft Auto V directory and copy `VRcam.dll` into the `scripts` folder within the Grand Theft Auto V directory.
When in Story Mode and ready to enter VR mode, press L to activate GTA: Vive along with this mod.
For the VR view to display correctly, change the aspect ratio to 5:4 in the graphics settings and turn off VSync to minimize stutters. If stuttering continues, lower your graphics settings. Remember to revert the aspect ratio back when switching to Rockstar Editor—you don’t want your exports stretched!
Key Function
| L | Activate
| J | Zoom out
| K | Zoom in
| I | Toggle Rule of Thirds
| H | Toggle Aspect Ratio
Configuration
If you use a VR headset with a field of view that differs significantly from mine, the `BaseWidth` and `PresetHeights` settings might need to be adjusted. If you want to define your aspect ratio, account for the 5:4 stretch (e.g., 50% (9/16) (5/4) ≈ 35%).
Property Explanation
| BaseWidth | Width of the viewfinder at 1.00x 16:9 compared to the game window (50% measured on my Quest 3).
| PresetHeights | Height of the viewfinder at 16:9 and 21:9 (approximately 35% and 27% respectively).
| AspectRatioLabels | Labels for the aspect ratio as shown in the info text under the viewfinder.
| ViewfinderSmoothingFactor | Controls the smoothness of the viewfinder’s animation.
| AspectSmoothingFactor | Determines the smoothness of the aspect ratio animation.
| DefaultZoom | Sets the default zoom level.
| ZoomLevels | Preset zoom levels available.
| PositionalSmoothingFactor | Adjusts the amount of positional smoothing (lower values yield a smoother effect).
| RotationSmoothingFactor | Adjusts the amount of rotation smoothing (lower values yield a smoother effect) |